Turning a HiMI UFI 4G Dongle into a Debian 13 Mini Server with OpenStick

This guide documents my experience installing Debian 13 on a HiMI UFI USB 4G dongle using OpenStick, including backing up the original firmware, flashing the device, configuring networking, and securing SSH.
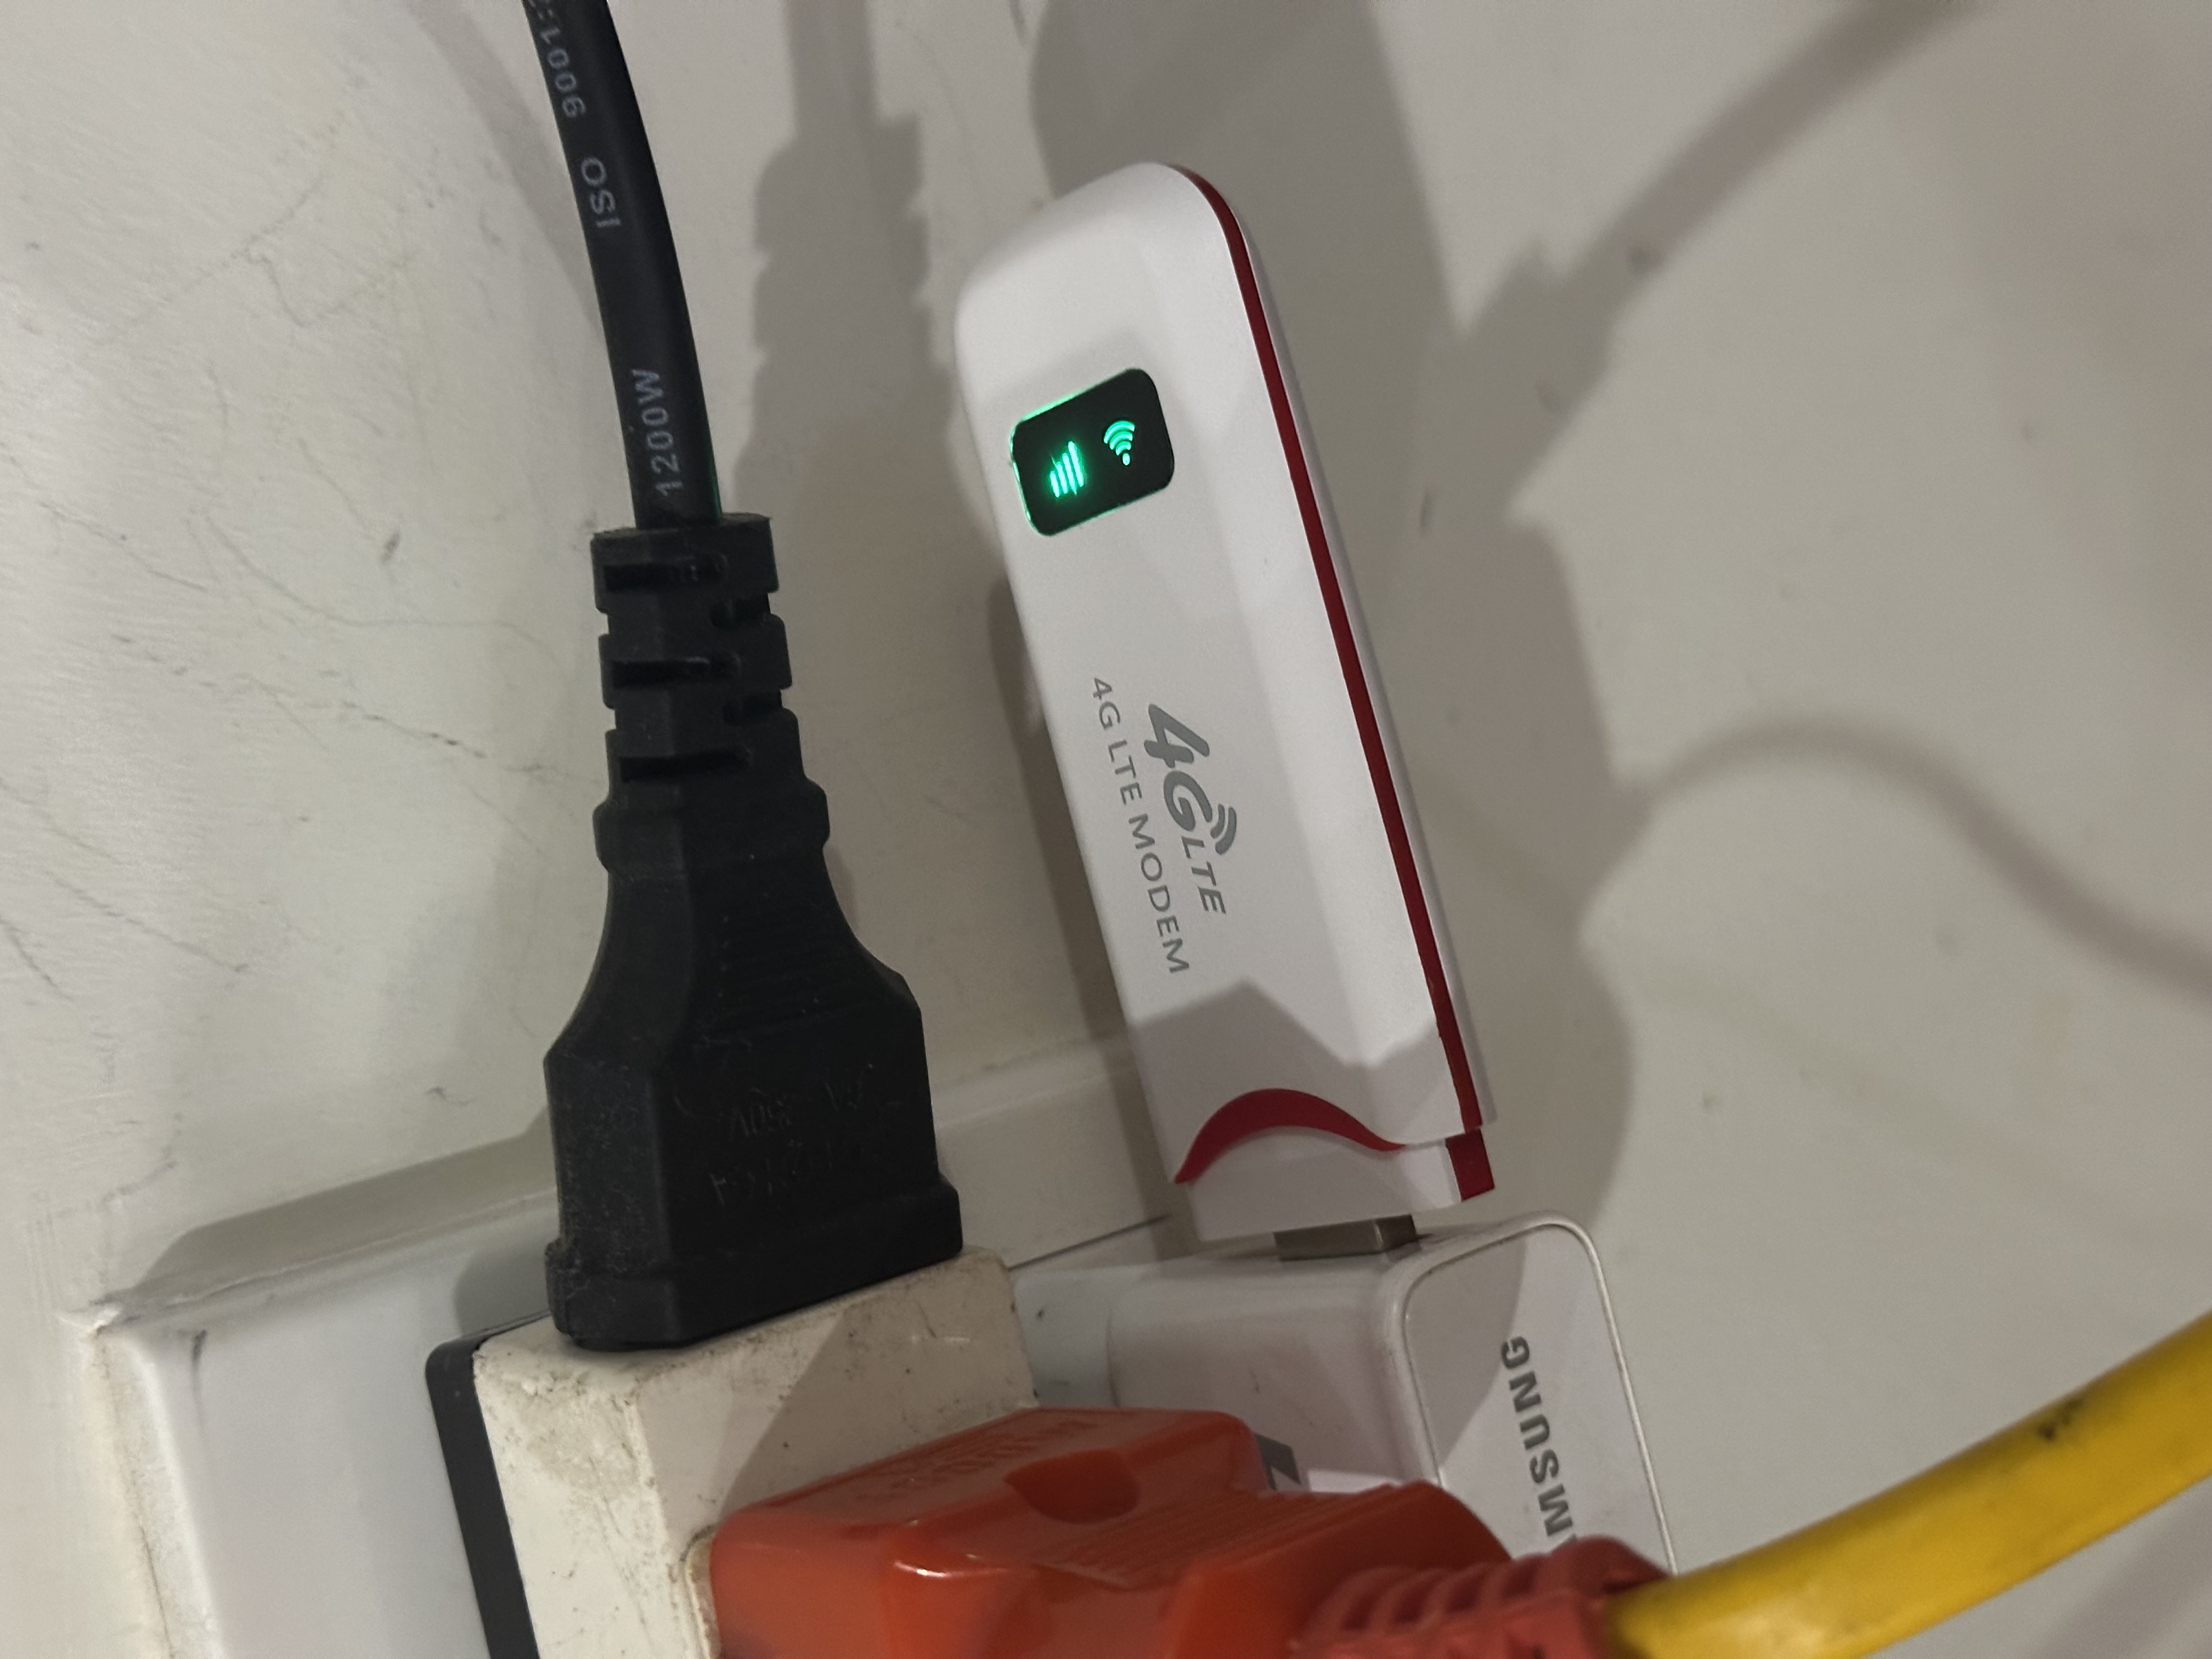
Disclaimer — Read Before Proceeding
WARNING: This process can permanently brick your device.
Flashing replaces the original firmware and modifies the device's eMMC partitions. A failed flash, incompatible image, or lost calibration data may render the device unusable.
Back up your entire device before installing anything. If you cannot create and verify a complete backup, I strongly recommend stopping here.
You proceed entirely at your own risk. I am sharing what worked on my device, not guaranteeing compatibility with yours.
Hardware and Tools
My device:
| Component | Specification |
|---|---|
| Device | HiMI UFI USB 4G dongle |
| PCB | HMF02-V05 |
| SoC | Qualcomm MSM8916 |
| RAM | 512 MB physical |
| Storage | 4 GB eMMC |
| Original OS | Android 4.4.4 |
| New OS | Debian 13 (Trixie) |
| Kernel | 6.6.0-msm8916 |
I used a Mac as the host computer.
Main resources:
- OpenStick Installer — Basistiy/openstick-installer
- EDL Tool — bkerler/edl
- OpenStick Installer releases
Important: Check your PCB revision and chipset before choosing an image. A visually similar UFI dongle may have different hardware.
Step 1 — Identify the Device
Goal: Confirm the hardware is compatible before modifying anything.
Do not rely on the product name or external appearance alone. Many UFI dongles look identical but contain different hardware.
Open the USB dongle
- Disconnect the dongle from USB and remove the SIM card if installed.
- Remove the small screws holding the casing together.
- Carefully open the plastic USB enclosure to expose the circuit board.
- Look for the PCB model/revision printed directly on the board.
- Inspect the chipset markings to identify the SoC, if visible.
On my device, the PCB was marked HMF02-V05 and the SoC was identified as Qualcomm MSM8916.
The chipset marking may be covered by a metal RF shield or may not directly display the SoC's commercial model number. Do not forcefully remove shielding just to identify the chip.
Confirm using software
My dongle originally ran Android and supported ADB. I used ADB to inspect its hardware, firmware, and partition layout:
adb devices -l
adb shell getprop
adb shell cat /proc/partitions
These checks helped confirm the Qualcomm MSM8916 platform and approximately 4 GB of eMMC storage.
Caveat: The PCB marking is useful for identifying the board revision, but it does not by itself guarantee compatibility. Cross-check the SoC and other hardware details before flashing.
Step 2 — Enter Qualcomm EDL Mode
Goal: Access the eMMC through Qualcomm Emergency Download (EDL) mode.
This was one of the trickiest parts of the process.
What worked for me
- Disconnect the dongle from USB.
- Press and hold the physical reset button.
- While holding the button, plug the dongle into the computer.
- Release the button within approximately 2 seconds of connecting USB.
This reliably put my device into EDL mode. For reference, see the OpenStick HMUF02 pinouts and EDL instructions.
Verify EDL mode
On macOS:
system_profiler SPUSBDataType
Look for a Qualcomm device with:
Vendor ID: 0x05c6
Product ID: 0x9008
The device may appear as QHSUSB_BULK or a Qualcomm emergency download device. USB ID 05c6:9008 is the important indicator. If the device boots normally or appears as an Android/ADB device, it has not entered EDL mode.
Caveat: The reset-button timing is based on my own experience with this particular board. Other revisions may behave differently.
Step 3 — Back Up the Entire eMMC
Goal: Preserve the original firmware and device-specific data before flashing.
I used bkerler/edl with a compatible Qualcomm MSM8916 Firehose loader.
First, verify that EDL can communicate with the device and read its partition table:
edl printgpt --loader=/path/to/prog_emmc_firehose_8916.mbn
Then create a complete raw eMMC backup:
edl rf stock-full.bin \
  --loader=/path/to/prog_emmc_firehose_8916.mbn
For my device, the expected image size was 3,909,091,328 bytes. Verify the size and calculate a SHA-256 checksum on macOS:
stat -f%z stock-full.bin
shasum -a 256 stock-full.bin
Save both the backup and its checksum somewhere safe, preferably on another drive.
Back up individual partitions
I also dumped the original partitions:
edl rl stock-partitions \
  --loader=/path/to/prog_emmc_firehose_8916.mbn
Particularly important partitions include:
modemst1andmodemst2fsgandfscpersistsecmodem
These may contain device-specific modem, calibration, or provisioning data.
Verify the backup
A checksum alone does not prove that a backup was read correctly.
I compared selected independently dumped partitions against the corresponding byte ranges in the full eMMC image using cmp. The comparisons passed.
For stronger verification, perform an independent second full read and compare the two images:
edl rf stock-full-verify.bin \
  --loader=/path/to/prog_emmc_firehose_8916.mbn
cmp stock-full.bin stock-full-verify.bin
If cmp produces no output and exits successfully, the two reads match.
Caveat: A complete, verified backup greatly improves recoverability, but does not guarantee recovery from every possible failure. Keep the original backup untouched.
Step 4 — Download the OpenStick Debian Image
Goal: Obtain an image intended for the device's hardware.
I used the Basistiy OpenStick Installer and its HMUF02 image from release v0.0.4. The downloaded archive was openstick-hmuf02-linux.zip. After extraction, the raw image was full_emmc.bin, and its size matched my device's full eMMC capacity.
Caveat: Use the image for your exact supported board. Verify the download's integrity against a trusted, independently obtained checksum when one is available.
Step 5 — Preserve Device-Specific Calibration Data
Goal: Transfer important original partitions into the Debian image.
Before flashing, I created a separate working copy of the image:
cp full_emmc.bin debian-personalized.bin
I then used the OpenStick Installer's partition-injection functionality to copy these seven original partitions into the new image:
fsc
fsg
modem
modemst1
modemst2
persist
sec
My preparation script performed three checks:
- Confirmed every required source and destination partition existed.
- Checked that partition sizes matched.
- Read back and compared the injected partition data after writing.
All seven checks passed.
Important caveat: During my review, I found that the installer could silently skip some failed calibration injections. I therefore added explicit preflight and post-injection verification. Do not flash an image if calibration injection fails or cannot be verified.
Step 6 — Flash Debian to the Device
Goal: Replace the Android installation with the prepared Debian image.
With the device in EDL mode, I flashed the personalized image:
edl wf debian-personalized.bin \
  --loader=/path/to/prog_emmc_firehose_8916.mbn \
  --memory=eMMC
Wait for the operation to complete. Do not disconnect USB or interrupt power while flashing.
After flashing, I checked the device's GPT again using edl printgpt. The device now had the expected OpenStick partition layout, including boot and rootfs.
Caveat: Flashing the wrong image can destroy the original partition table and bootloader. Make sure your full backup is verified before this step.
Step 7 — Boot Debian and Connect over USB Ethernet
Goal: Confirm Debian boots and provides SSH access.
After flashing, I rebooted the dongle. Instead of appearing as an Android device, it appeared on my Mac as a USB Ethernet gadget named Bar Gadget. My Mac received an address similar to:
Mac:       192.168.5.242
OpenStick: 192.168.5.1
I connected over SSH:
ssh user@192.168.5.1
The device successfully booted Debian 13 with kernel 6.6.0-msm8916. Verify the installation:
cat /etc/os-release
uname -a
free -h
lsblk
The host computer may lose Internet access
I encountered an unexpected networking issue here. The USB gadget's DHCP server advertised 192.168.5.1 as a gateway. macOS selected it as the default route, even though OpenStick did not yet have Internet access. As a result, Chrome still worked in some situations, but other applications could not access the Internet.
Check the default route on macOS:
route -n get default
If it shows the following, your Mac may be routing Internet traffic through OpenStick:
gateway: 192.168.5.1
interface: en8
Fix: make the USB connection local-only
On my Mac, the USB network service was called Bar Gadget. I configured a static IP without a gateway:
sudo networksetup -setmanual \
  "Bar Gadget" \
  192.168.5.2 \
  255.255.255.0
Clear any DNS servers configured specifically for that service:
sudo networksetup -setdnsservers "Bar Gadget" Empty
Verify:
route -n get default
route -n get 192.168.5.1
The default route should point to your normal router, while 192.168.5.1 remains reachable through USB.
Caveat: Interface names, IP addresses, and network service names may differ on your host.
Step 8 — Connect OpenStick to Your Home Wi-Fi
Goal: Give OpenStick Internet access and make it reachable from the home LAN.
My OpenStick image initially started wlan0 as a Wi-Fi hotspot. Check:
nmcli device status
It showed a connection named hotspot on wlan0. Disable hotspot autoconnection and stop the hotspot:
sudo nmcli connection modify hotspot connection.autoconnect no
sudo nmcli connection down hotspot
Scan for Wi-Fi networks:
sudo nmcli device wifi rescan ifname wlan0
nmcli device wifi list ifname wlan0
Connect to your router:
sudo nmcli --ask device wifi connect "YOUR_SSID" ifname wlan0
Verify:
ip -4 addr show wlan0
ip route
ping -c 3 1.1.1.1
Once connected, the router should assign OpenStick a LAN IP through DHCP. For the remainder of this guide, I'll use the example LAN address 192.168.0.200. This is an example address, not a guaranteed default. Check the actual address assigned by your router and substitute it in the commands below.
Caveat: Keep USB SSH connected until Wi-Fi access has been tested. The WCN36xx driver and firmware must support the Wi-Fi client configuration.
Step 9 — Change the Default Password
Goal: Secure the default Debian account.
SSH into OpenStick and run:
passwd
Enter the current password, then the new password twice.
The default user account on my image also had passwordless sudo privileges:
(ALL : ALL) NOPASSWD: ALL
That makes SSH security especially important.
Step 10 — Set Up SSH Key Authentication
Goal: Use SSH keys instead of password-based login.
In the following example, I use an SSH key pair named ~/.ssh/my_key and ~/.ssh/my_key.pub. These filenames are made up for this guide. Check which SSH key you actually have on your computer and replace the filenames accordingly.
On macOS, list your public keys:
ls -l ~/.ssh/*.pub
For example, if you have ~/.ssh/id_ed25519.pub, the corresponding private key is typically ~/.ssh/id_ed25519.
Copy your public key to OpenStick:
cat ~/.ssh/my_key.pub | ssh user@192.168.0.200 \
  'umask 077; mkdir -p ~/.ssh; cat >> ~/.ssh/authorized_keys'
Test key authentication:
ssh -i ~/.ssh/my_key \
  -o IdentitiesOnly=yes \
  -o PasswordAuthentication=no \
  user@192.168.0.200
Never copy your private key to OpenStick. Only the public key belongs in authorized_keys.
Once key authentication works, disable password authentication on the SSH server. I have a separate guide covering that process: Disable SSH Password Login.
Caveat: Never disable password authentication before confirming that key-based login works in a separate SSH session.
Done — Your USB Dongle Is Now a Linux Server
At this point, the device runs Debian 13, connects to the home network over Wi-Fi, and supports SSH administration.
My initial resource usage was approximately:
| Resource | Usage |
|---|---|
| Linux-visible RAM | 317 MB |
| RAM used at idle | 84 MB |
| Root filesystem | 3.4 GB |
| Disk used | 621 MB |
| Disk available | 2.7 GB |
You can now install Linux applications and services, within the device's hardware limits. Here are two interesting ideas.
Idea 1 — Pi-hole: block ads across your home network
Pi-hole is a DNS-based filtering solution that can block many advertising and tracking domains for devices on your home network.
A possible setup:
- Run Pi-hole on OpenStick.
- Configure your router to distribute OpenStick's LAN IP as the DNS server.
- Monitor DNS queries and blocked domains from the Pi-hole dashboard.
With its low power consumption, OpenStick is an interesting candidate for an always-on DNS server.
Caveat: Pi-hole does not block every kind of advertisement, and if OpenStick becomes unavailable, devices relying exclusively on it for DNS may lose name resolution. Also check the project's current RAM requirements before deploying it on this device.
Idea 2 — ZeroClaw: a personal AI assistant
ZeroClaw is a lightweight personal AI assistant that can connect to messaging channels and external services. I experimented with running ZeroClaw on OpenStick and connecting it to a messaging platform.
Potential use cases include:
- Ask your assistant questions through Telegram or WhatsApp.
- Query your home network's DNS activity.
- Monitor lightweight homelab services.
- Trigger Home Assistant actions.
- Run simple automation and monitoring tasks.
Because OpenStick has limited RAM and CPU resources, it is better suited to running a lightweight assistant client that calls external AI models rather than hosting large language models locally.
Final Thoughts
What started as a cheap USB 4G dongle is now a tiny Debian server.
The most important lessons from this project were:
- Back up everything before flashing.
- Verify EDL mode using USB ID
05c6:9008. - Preserve and verify device-specific calibration partitions.
- Be careful with USB Ethernet DHCP and default routes.
- Keep a recovery path available while configuring networking.
- Secure SSH before exposing services to your network.
- Avoid blindly upgrading custom kernels, firmware, or boot components.
The device has limited resources, but that is part of what makes the project interesting: finding useful services that can run on hardware that might otherwise be discarded.